

1. WebSocket을 이용한 실시간 알림 기능
실시간 알림은 사용자가 새로 고침하거나 업데이트를 반복적으로 수행할 필요 없이 변경된 내용을 즉시 사용자에게 푸시합니다. 채팅앱이나 주식앱, 대시보드 알람같은 기능으로 사용할 수 있습니다.
이번 글에서는 Spring Boot와 WebSocket을 사용하여 실시간 알림 시스템을 구축하는 방법을 보여드리겠습니다.
2. Spring Boot 애플리케이션 설정
2.1. 의존성 추가
먼저 새 Spring Boot 프로젝트를 생성하거나 기존 프로젝트에 다음 의존성을 추가합니다.
dependencies {
	implementation 'org.springframework.boot:spring-boot-starter-web'
	implementation 'org.springframework.boot:spring-boot-starter-websocket'
	implementation 'org.springframework.boot:spring-boot-starter-thymeleaf'
	...
}
2.2. WebSocket 활성화
@EnableWebSocketMessageBroker 어노테이션을 메인 클래스 또는 Config 클래스에 추가하여 WebSocket 지원을 활성화 합니다.
@Configuration
@EnableWebSocketMessageBroker
public class WebSocketConfig implements WebSocketMessageBrokerConfigurer {

    @Override
    public void configureMessageBroker(MessageBrokerRegistry registry) {
        // 메시지 브로드캐스팅을 위한 접두사
        registry.enableSimpleBroker("/topic");
        // 클라이언트-서버 통신을 위한 접두사
        registry.setApplicationDestinationPrefixes("/app");
    }

    @Override
    public void registerStompEndpoints(StompEndpointRegistry registry) {
        registry.addEndpoint("/ws") // WebSocket 엔드포인트
                .setAllowedOrigins("http://localhost:3000") // 프론트엔드 origin 허용
                .withSockJS();
    }
}
- @EnableWebSocketMessageBroker: 애플리케이션에서 WebSocket 메시지 처리를 활성화합니다. STOMP(Simple Text Oriented Messaging Protocol)를 사용하여 WebSocket을 통한 메시지 처리를 지원합니다.
- enableSimpleBroker("/topic"): 간단한 인메모리 메시지 브로커를 활성화하는 접두사를 정의합니다.
/topic/notifications로 전송된 메시지는 이 토픽을 구독하는 모든 클라이언트에 브로드캐스트됩니다. - setApplicationDestinationPrefixes("/app"): 클라이언트에서 서버로 전송되는 메시지의 접두사를 정의합니다.
클라이언트가 /app/sendMessage로 메시지를 보내면 @MessageMapping("/sendMessage")에 매핑된 컨트롤러 메서드가 트리거됩니다. - addEndpoint("/ws"): /ws를 클라이언트가 연결을 설정하는 데 사용하는 WebSocket 엔드포인트로 정의합니다.
프런트 엔드는 ws://localhost:8080/ws에 연결하여 WebSocket 세션을 시작할 수 있습니다. - setAllowedOrigins("http://localhost:3000"): 연결을 허용하는 origin(프런트 엔드 도메인)을 제한합니다. 이는 CORS(Cross-Origin Resource Sharing)에 중요합니다.
- withSockJS(): 브라우저에서 WebSocket을 지원하지 않는 경우 폴백 옵션을 제공하는 라이브러리인 SockJS를 활성화합니다.
2.3. 메시지 컨트롤러 생성
WebSocket 메시지를 처리하는 컨트롤러를 만듭니다.
@Slf4j
@Controller
public class NotificationController {

    @MessageMapping("/sendMessage")
    @SendTo("/topic/notifications")
    public String sendMessage(String message) {
        log.info("Received message : {}", message);
        return message;
    }
}
- @MessageMapping("/sendMessage"): 클라이언트가 /app/sendMessage로 메시지를 보내면 이 메서드가 트리거됩니다.
/app 접두사는 WebSocketConfig의 setApplicationDestinationPrefixes("/app")로 인해 @MessageMapping 대상에 자동으로 추가됩니다. - @SendTo("/topic/notifications"): /topic/notifications를 구독하는 모든 클라이언트는 이 메서드에서 보낸 메시지를 받습니다.
2.4. 프론트엔드 구축
/resources/templates 폴더에 아래와 같은 내용으로 html 파일을 생성합니다.
<!DOCTYPE html>
<html lang="en">
<head>
    <meta charset="UTF-8">
    <title>실시간 메시지 전송</title>
    <script src="https://cdn.jsdelivr.net/npm/sockjs-client/dist/sockjs.min.js"></script>
    <script src="https://cdn.jsdelivr.net/npm/stompjs/lib/stomp.min.js"></script>
</head>
<body>
<h1>실시간 메시지 전송</h1>
<div id="notifications"></div>
<input type="text" id="message" placeholder="메시지를 입력하세요.">
<button onclick="sendMessage()">Send</button>

<script>
    let stompClient = null;

    function connect() {
        const socket = new SockJS('http://localhost:8080/ws');
        stompClient = Stomp.over(socket);
        stompClient.connect({}, function (frame) {
            console.log('Connected: ' + frame);
            stompClient.subscribe('/topic/notifications', function (message) {
                showNotification(message.body);
            });
        }, function (error) {
            console.error('WebSocket connection error: ' + error);
        });
    }

    function sendMessage() {
        const message = document.getElementById('message').value;
        if (stompClient && stompClient.connected) {
            stompClient.send('/app/sendMessage', {}, message);
            console.log('Message sent:', message);
        } else {
            console.error('WebSocket connection is not established.');
        }
    }

    function showNotification(message) {
        const notifications = document.getElementById('notifications');
        const notification = document.createElement('p');
        notification.textContent = message;
        notifications.appendChild(notification);
    }

    connect();
</script>
</body>
</html>
- connect 함수를 통해 백엔드 서버와 WebSocket 연결을 설정하고 /topic/notifications 토픽을 구독합니다.
- sendMessage 함수를 통해 메시지를 /app/sendMessage로 전송합니다.
- showNotification 함수를 통해 수신된 메시지를 화면에 표시합니다.
3. 테스트 실행
3.1. Spring Boot 실행
- Spring Boot 어플리케이션을 시작합니다.
- 웹브라우저에서 localhost:8080 을 입력하여 작성한 html 페이지를 엽니다.
- 메시지 박스에 메시지를 입력하고 Send를 클릭하면, 실시간으로 메시지가 나타납니다.
3.2. 여러 클라이언트에서 실행
- 메시지 전송 페이지를 여러 브라우저에서 엽니다.
- 모든 클라이언트는 동일한 브로커를 구독하므로, 어느 페이지에서 입력하더라도 모든 탭이 실시간 알림을 받습니다.
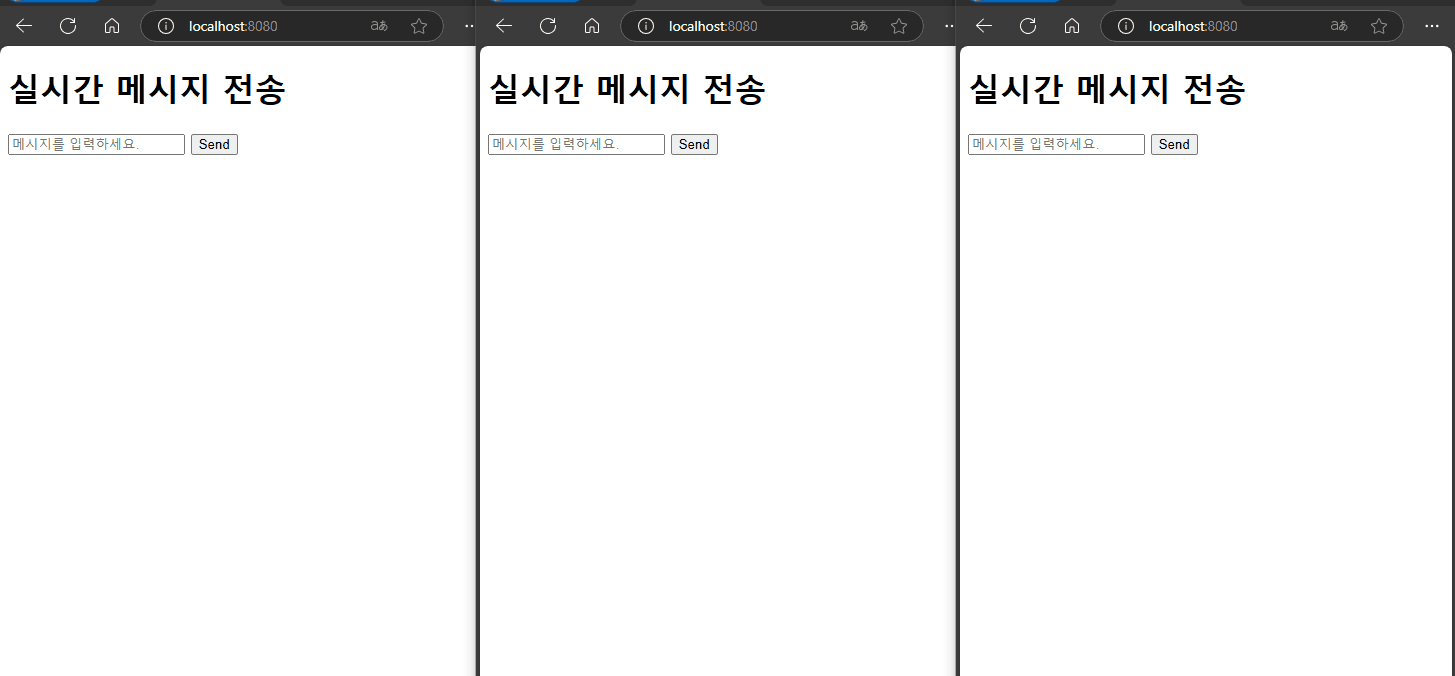
최종적으로 위와 같은 결과를 확인할 수 있습니다.
'Java > Spring Boot' 카테고리의 다른 글
| [Spring Boot] AOP를 활용한 효과적인 trace 및 로깅 구현 방법 (1) | 2025.02.24 |
|---|---|
| [Spring] 캐싱 가이드 (@Cacheable, @CachePut, @CacheEvict, @Caching) (0) | 2025.02.20 |
| Spring Boot 3 + Spring Security 6 + JWT 인증 (0) | 2025.02.06 |
| javax.inject.Provider 를 사용할 때 UnsatisfiedDependencyException 발생 (0) | 2023.03.12 |
| [Spring Boot] REST API 제작기 - 2.DB연결(Mybatis) (0) | 2022.03.28 |